Showing posts with label tutorial. Show all posts

Tuesday, February 15, 2011

Learning from Mistakes

"The only real mistake is the one from which we learn nothing."  ~John Powell

You know you're having a bad day when...

You wonder if you added the cheese to the macaroni, when you are supposed to be making Royal Icing for your cookies.

I just had one of those days...

Suddenly, the amount of water I needed for that perfect Icing was accidentally doubled,  because what I thought was a 1/4 cup was actually a 1/2 cup... and by the time I realized it, it was too late.  

No problem, right?!  Just double the other ingredients?  

Sure.  

No big deal if you have more icing sugar, time and patience.  

Let's see.  

Icing sugar... check
Time... 1/2 check
Patience....I don't want to talk about it. 

A problem that could have easily been fixed turned into The Absolute Worst icing I have ever made in my life.  

It was actually inedible...  

(No it wasn't the extra water.. it was everything else I did afterwards to try to fix it.)

The icing was super duper gritty and the taste was dreadful.  (Sound appealing?) 

So, I was left with two options, as I was now completely out of icing sugar.  

  1. Ditch the Valentine's cookies this year and use this icing as a cookie lesson.
  2. Drop everything, bundle the kids up,  get in the car and run to the nearest grocery store for more icing sugar to start all over again.

Well...  I went with option one as it seemed like the most logical choice.  

But, instead of doing a cookie lesson myself, I gave it to my two and a half year old Daughter Amelia to (play with) do her own cookie Tutorial.

So, get ready to be inspired... because here are some of the most fabulous cookie decorating tips you could ever dream of.  :)
Start with some super gritty, inedible Royal icing 
Spoon some Royal Icing on the counter.  Use it as finger paint, and then put your cookies on top. 
Begin to Decorate
If you are unhappy with the design you have piped on your cookie, you simply wipe it off with a dish sponge.
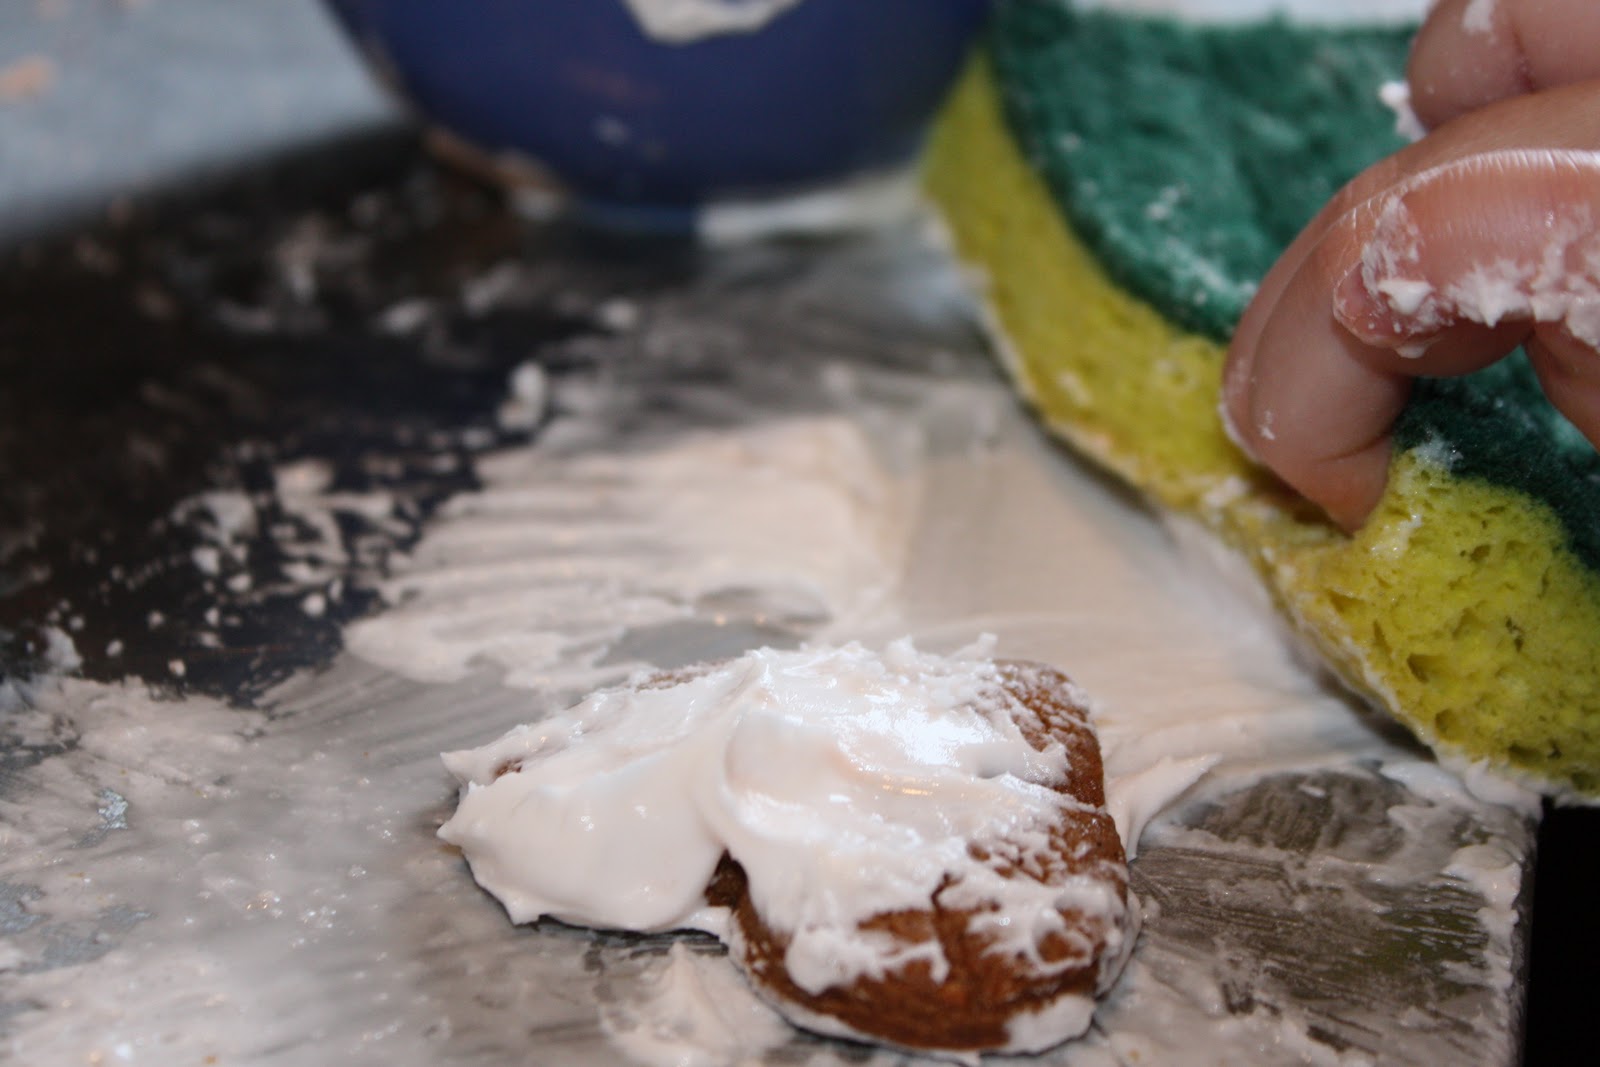
Oops!  If it drops on the floor {the cookie or the sponge}, don't worry.  Just lick it off and continue
Add Green Colouring to your Icing, (Because green is such a lovely Valentine's colour) and spoon it on your cookie.  This method is so much quicker than flooding.
Cookies for her teacher. I know... you're totally wishing she was your student!!  

For more cookie decorating tips from Amelia click Here

Friday, January 7, 2011

90 Reasons to Celebrate

"It takes a long time to become young." ~ Pablo Picasso

A couple of months ago, my {Step} Great-Grandmother Gladys, celebrated her 90th Birthday.  

She was so excited.

I'm telling ya, If I were 90, and as healthy, and full of life as she is, I would be pretty darn excited too.  

{At 80 years old} She was the Grandma who was down in the basement playing hockey with the boys.    

Her energy is remarkable.

To this day, she never misses bringing her famous cabbage salad and 2 pumpkin pies to every family function.

Always smiling and laughing, she has a genuine heart, and a real zest for life.   

Couldn't we all be so lucky to be like her when we're 90... She is truly inspiring.

To celebrate her Birthday, I made 3 cakes with Mousseline Buttercream, decorated in pink and white (as requested by the birthday girl).

(Please excuse the photos as I was still using my iphone camera at the time.)

Mousseline Buttercream Recipe
If the eggs are cold, place them in a bowl of hot water for a 
few minutes to bring them to room temperature
Separate the eggs.  You will only need the egg whites for this 
Buttercream
Mix sugar and water over heat until sugar dissolves.  Once the sugar mixture starts to boil, DO NOT stir anymore or sugar will crystallize.  Cover the pot.  Periodically remove the lid and brush the sides of the pot with water using the pastry brush (so the sugar does not crystallize).
Once the bubbles begin to slow down and the sugar mixture begins to thicken, remove a small amount of the sugar mix with the spoon and place it in the cold water.  If the mixture forms a ball between your fingers, it is ready to go.  
In the meantime start mixing the egg whites and sugar to soft peaks
Soft peaks.
When the boiling sugar mixture starts to get close,  turn your mixer on high until
your meringue gets to stiff peaks.
 When the sugar mixture is done cooking, turn the kitchen aid to low and quickly, and cautiously (it is extremely hot) pour in the sugar mixture in to the meringue.
Keep the kitchen aid running until the meringue cools and thickens
Once the meringue is completely cooled, add the whipped butter.  If you add it too soon,  the butter will  for sure melt and make a total mess of your Buttercream.  Trust me on this one...It's not pretty!
Your finished Meringue Buttercream
Allow your cakes to cool completely
Slice each cake into 3 or 4 slices

Brush each layer with simple syrup (a cooked sugar syrup made of equal amounts of sugar and water) 
Fill each layer with Buttercream
Add a thin layer of Buttercream to "Crumb Coat"
Adding a "crumb coat" seals in the cake crumbs so your top layer of 
Buttercream can be pretty and smooth
Refrigerate until the crumb coat is cold
Add your final coat of Buttercream and smooth out the sides using a 
 bench scraper
Smooth out the top with an off set spatula
Decorate
Happy Baking!

Friday, December 24, 2010

Fa la la la la

For my entire adult life, I have wanted to build a Gingerbread house from scratch.

Do you remember how I said I make a list of things to accomplish before Christmas?  Well, this is always the number one item on my list, and every year it is the first to be cut

To be sure I didn't scrap it this year, I made a pledge to my little Amelia that we were going to make a Gingerbread house together.  Two actually... One from scratch and one of the prepackaged kind you can pick up anywhere at this time of year.
Daddy and Amelia scaling the template
who knew making a Gingerbread house involved so many pieces?
A mixture of sugar and water cooked to "Hard Crack" stage
My "glue" could have used additional time on the stove as it wasn't quite ready... but I was too impatient to wait.
 Cautiously dip gingerbread pieces in the candy mixture and use it as a glue.  Careful not to burn yourself as the mixture is extremely hot.
The Sugar mixture dries almost immediately so there isn't the need to wait as long as you do when using royal icing.
The first roof
Shingling with Shreddies
The first roof had to be removed for a few reasons:
1)  The roof hadn't cooled completely (from the oven) before starting to assemble (Trust me... I knew this was a big mistake at the time, but I allowed myself to be talked in to it.)

2)  The roof was too thick and therefore too heavy.

3)  The sugar mixture wasn't cooked long enough, so it was still a little too soft.
The second roof was a much better size.  I also rolled it thinner and baked it longer.
These two Photos are the Gingerbread House that Amelia made!

I hope to continue this Gingerbread house tradition every year, as I had way more fun than I had imagined!

Happy Holidays!


Related Posts Plugin for WordPress, Blogger...